Candlesticks & Candelabra Repairs & Restoration
Repair of Sterling Silver Candlestick set
by a master silversmith
Christopher Nigel Lawrence Solid Sterling silver candlestick Set
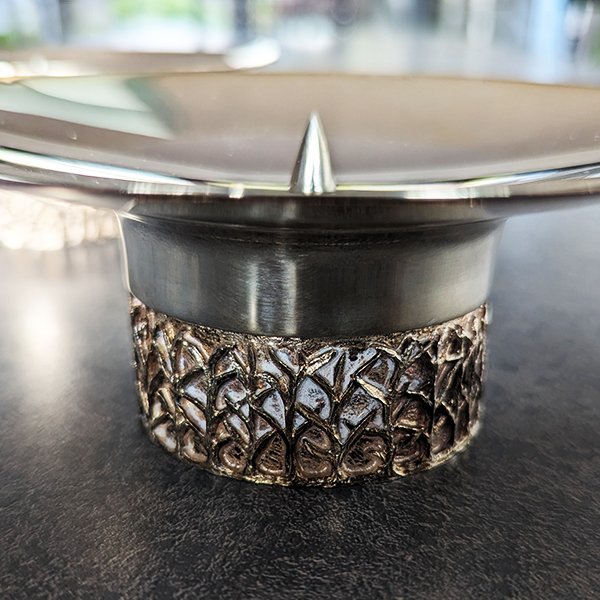
Christopher Nigel Lawrence, a 20th-Century master silversmith from England, made this unique candlestick set. These are solid sterling silver and very heavy. The base had a highly textured botanical motif of stylized branches contrasting with the mirror-finish candle platforms. Unfortunately, someone had used metal polish on these candlesticks causing very fine scratches damaging the smooth polished surface. There was also a dent in the edge of the candle platform and the stylized branch pattern on the base had significant tarnishing. These issues can be seen in the photos below.
After carefully fixing the dent, I was able to gently polish out the scratch marks and remove the tarnish. I provided care instructions to the owner so they could maintain the restored appearance.
Repair of Sterling Silver
20th Century Candlesticks
All of these photo show candlesticks filled with pitch on the inside and the silver is very thin.
sterling silver candlesticks before and after repair
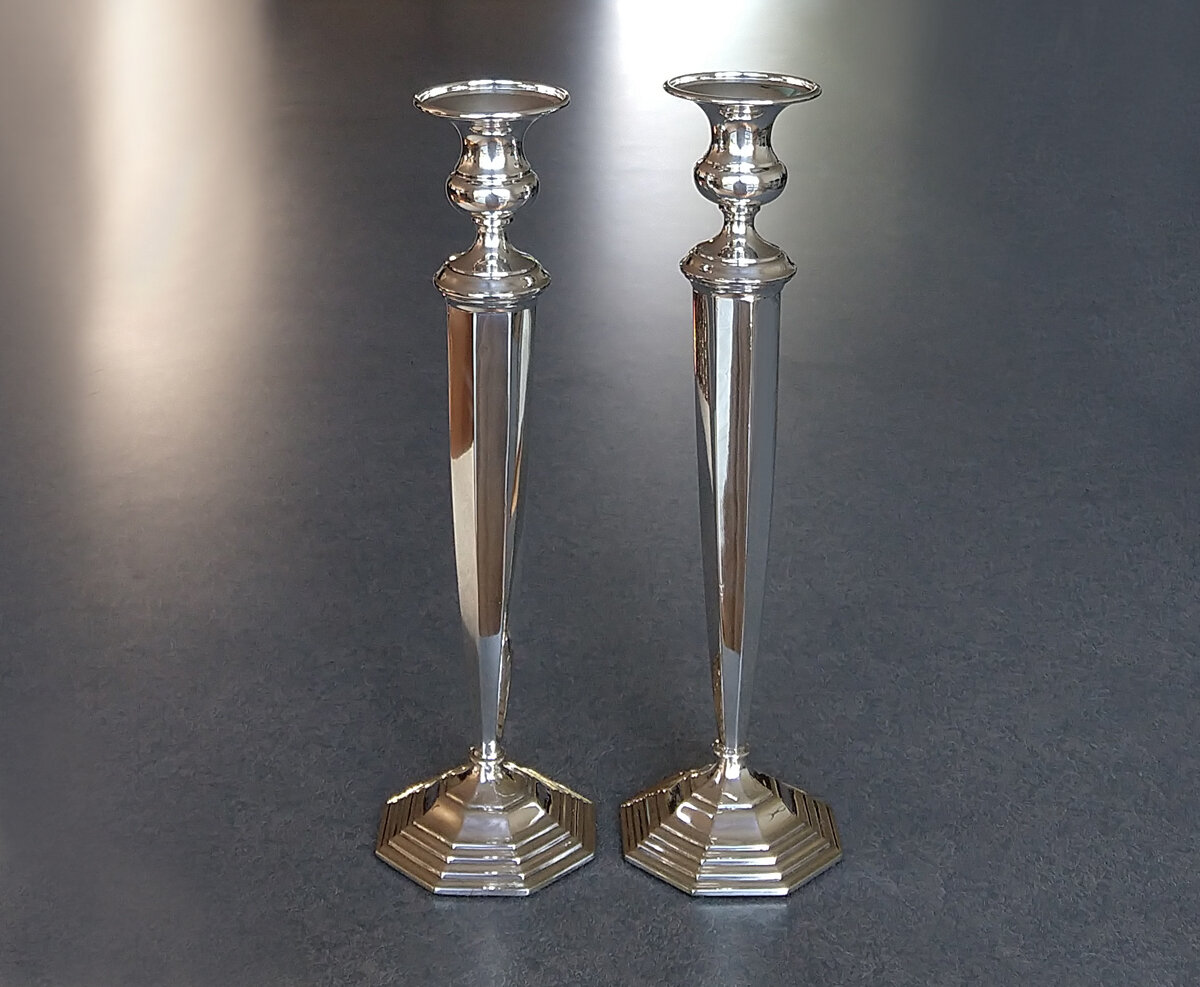
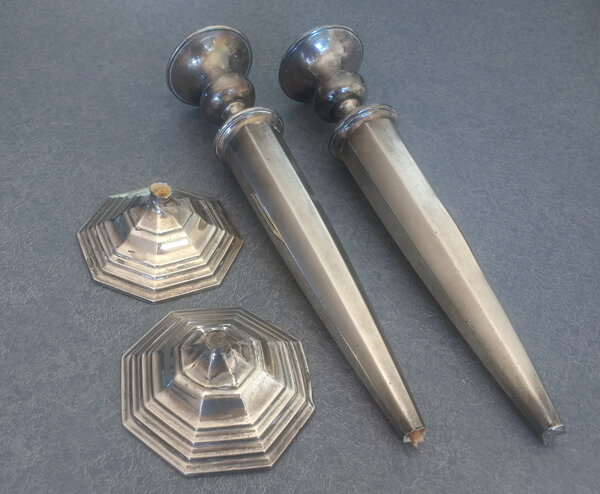
These sterling silver Art Deco candlesticks arrived broken from the base, but the repair was far more involved. I had to completely cut off the bottom, and remove the wrinkles in the base from the inside. It turns out both bases had multiple holes, lots and lots of holes.
With candlesticks that have faceted sharp edges, the silver is often polished on the raised edges and corners until it is completely worn through. In the photo (above right) you can see light shining through the holes. There were so many holes, it took me more than a year and a half to repair these candlesticks, working through frustration and discouragement. Felt is glued on the bottom as a final step for an attractive appearance, concealing the area I had to cut open for access.
When you polish your candlesticks, polish with q-tips and make-ups pads. Avoid rubbing faceted edges or points with any kind of cloth. Over the years…the edges will get thinner and thinner.
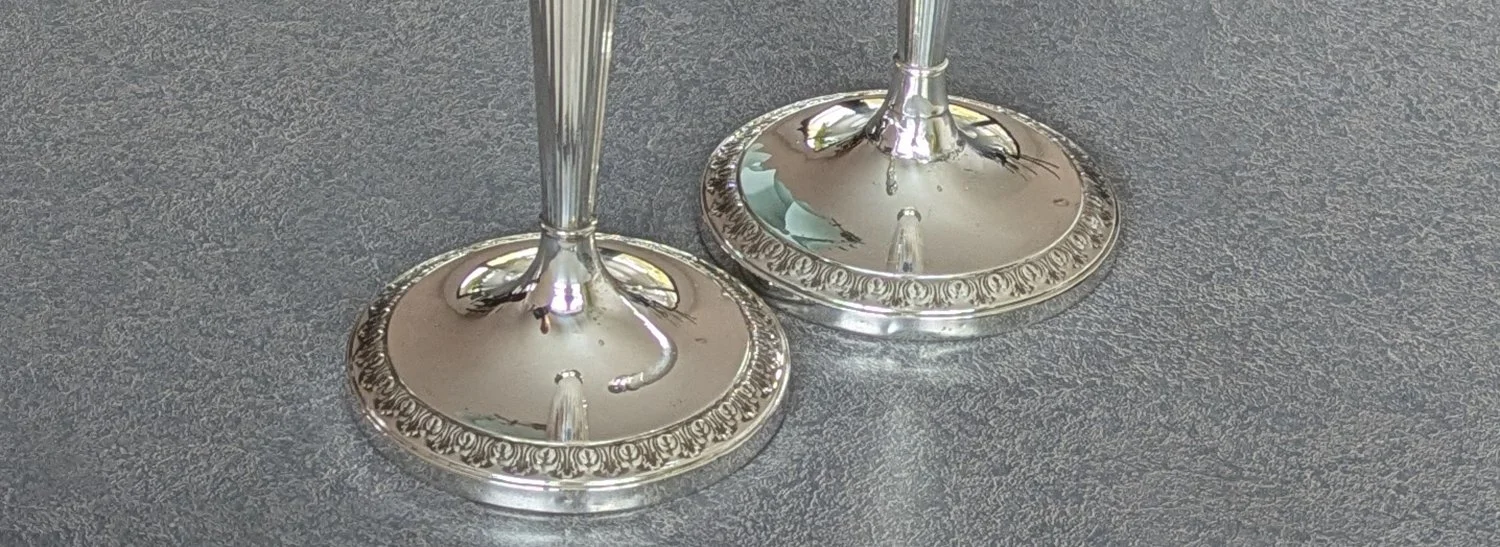
Sterling Silver candlesticks (circa 1900) damaged by twisting when polishing
Do not twist your candlesticks in your hands when polishing with a cloth. Twisting the stem of these candlesticks ripped the base, and tore the silver in an irregular way that is very difficult to conceal.
What I decided to do was create a piece of fluted silver (from an orphan candlestick) to cover the ripped and torn base.r Use only make up squares or cotton balls with gentle polishing making sure all the lines go in the same directions.
In the above photo, you can see that I created a silver cover to conceal the ripped base. Eventually, I cut it smaller. This is not a perfect solution, but the best possible answer when the base is ripped and torn in an irregular way. I also rubbed out the wrinkle in the other candlestick (that was about to break.) Treat your candlesticks as if they were made from glass.
The customer said, “Harriete, I received the candlesticks today and they’re absolutely gorgeous! Your work is perfection! Thank you so much for resurrecting a memory of my grandmother. “
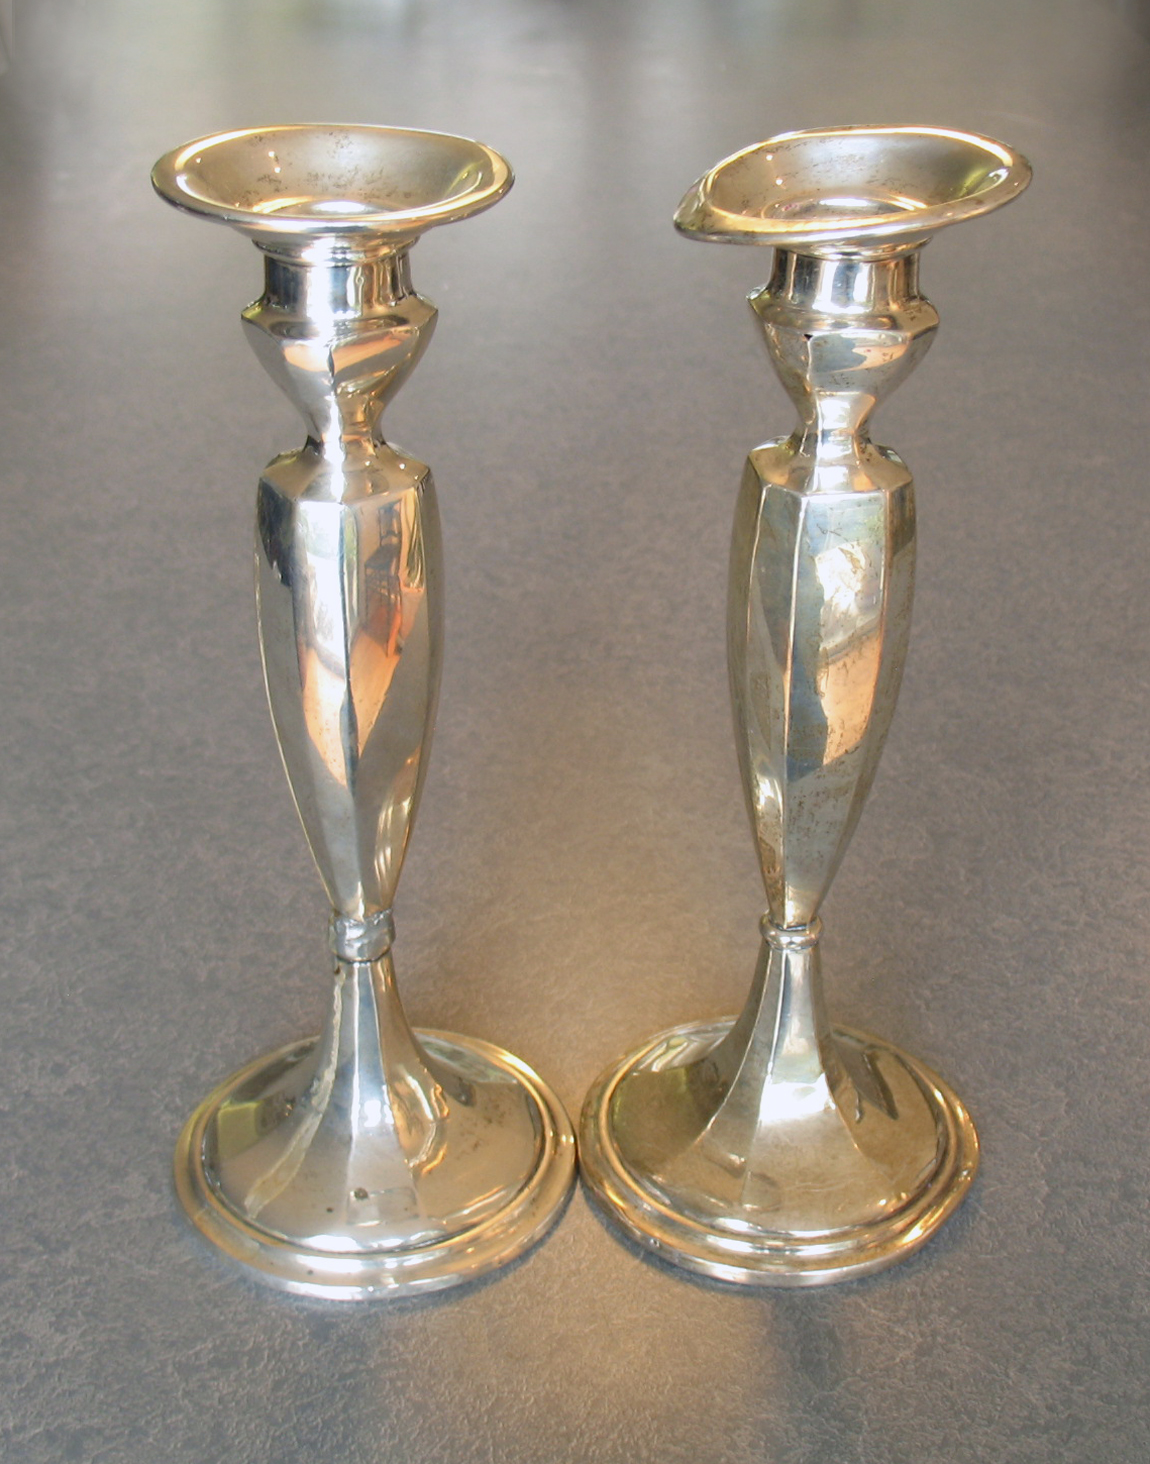
20th-Century Sterling Silver Candlesticks
These tall sterling silver candlesticks arrived with the candle cup very misshapen and bent (right photo.) The candle cup is not removable. It had to be slowly burnished back into shape holding on to the entire candlestick. Talk about challenging! After the repair work, the candlesticks were polished.
Repairing a crushed candle cup
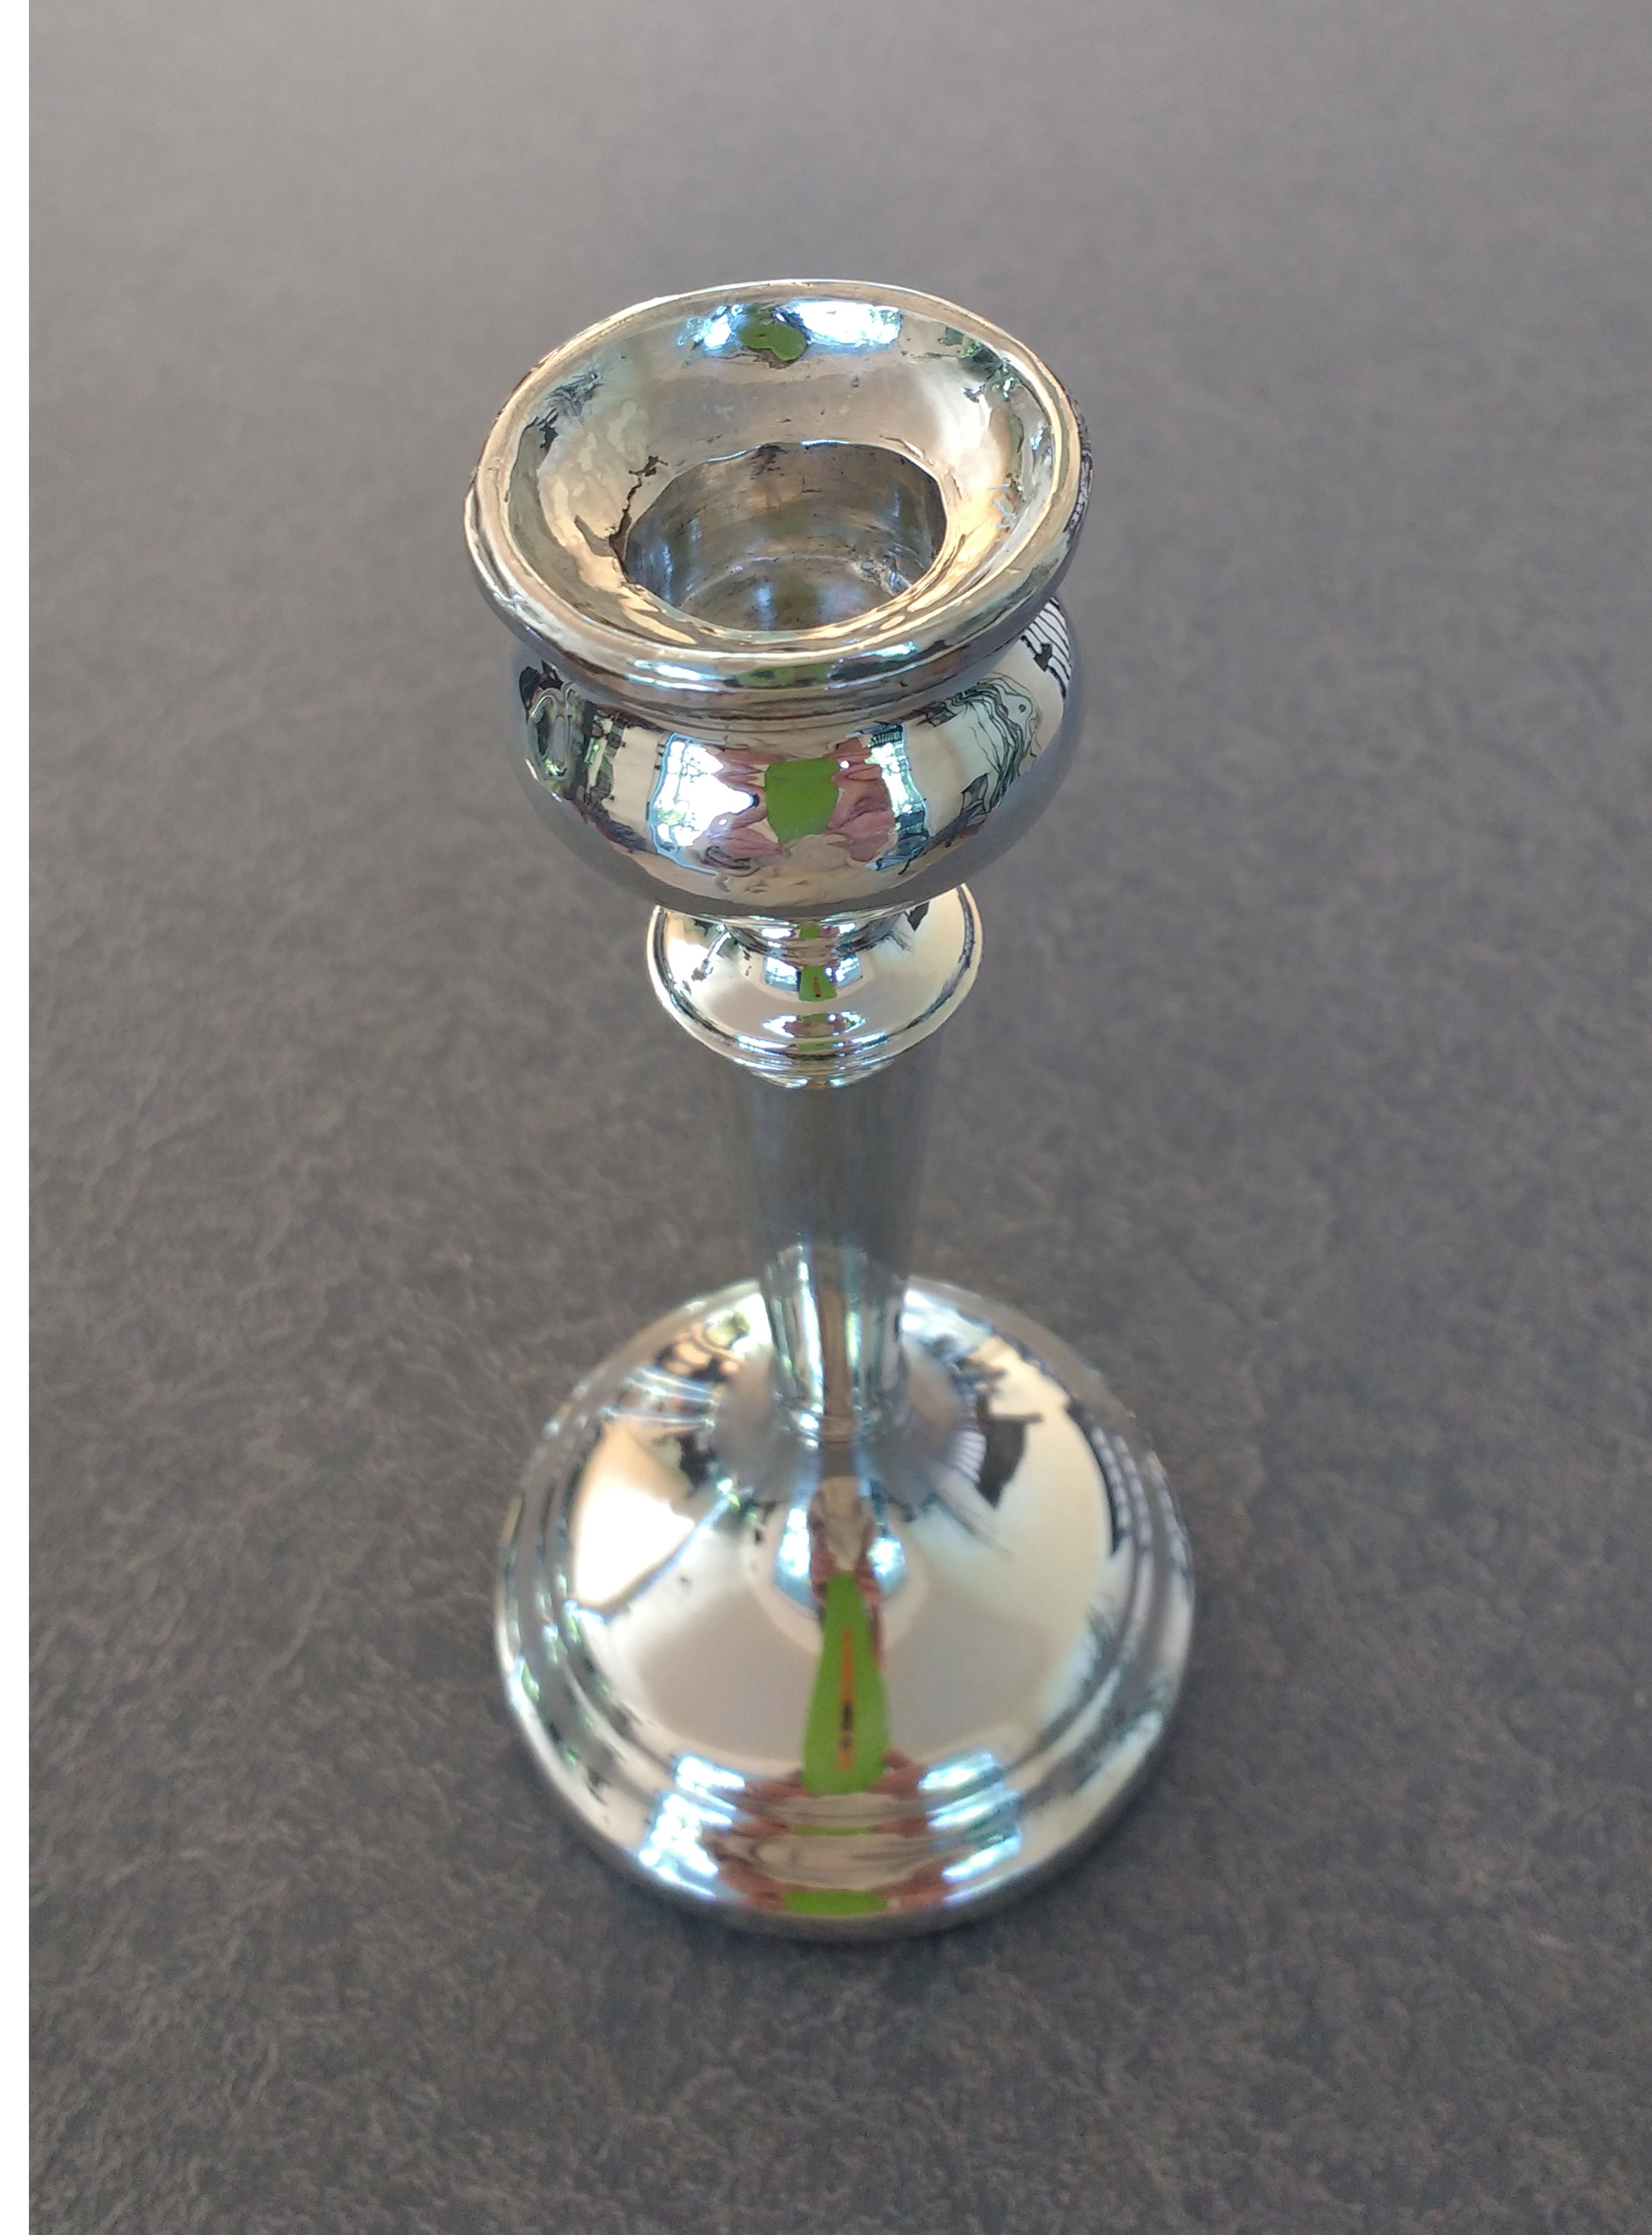
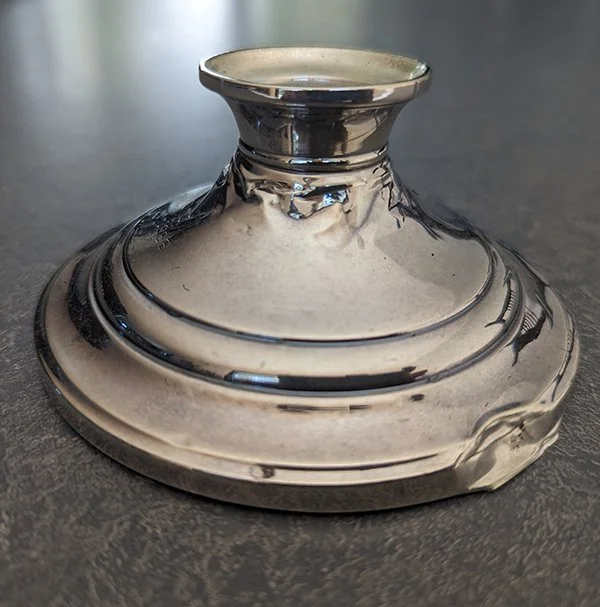
This sterling silver candlestick arrived with the candle cup badly dented, crushed and wrinkled as shown in the "before" photo (above left photo.) This candlestick had a lot of sentimental value to the customer so I did the best I could. I can't believe it turned out this great (above right photo). Repairing damage like this is not an instant process. I am gently reshaping the silver, and rubbing out the wrinkles all my hand.
Replacing a crushed candle cup
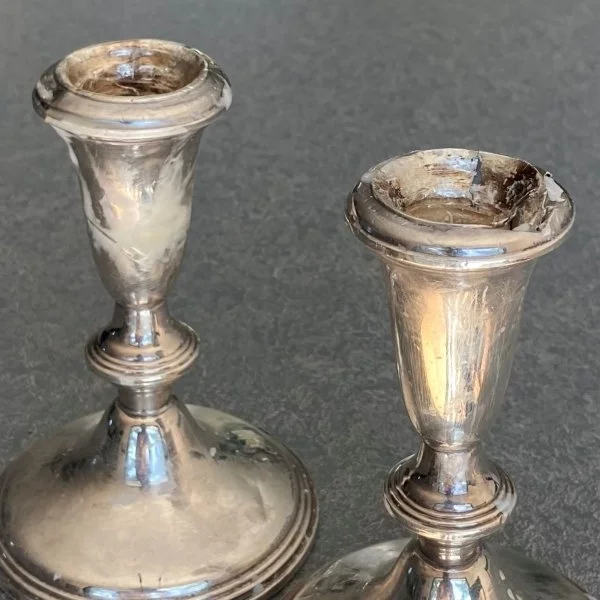
This pair of sterling silver candlesticks arrived with the candle cups absolutely demolished and damaged beyond repair. Using a knife to remove wax ripped holes in the sterling silver candle cup. The paper-thin silver was torn apart and whole pieces were missing.
Luckily, I was able to find an identical pair of sterling silver candlesticks online that were from the same manufacturer and had the exact same manufacture and style number. The candle cups were very carefully removed from the candlestick purchased for the replacement part and used to restore my customer’s beloved pair of candlesticks.
This is a great alternative to spending hours and hours trying to repair the original candle cups…but finding replacements parts is not always easy or even possible.
Repair of a Pair of Art Deco Sterling Silver Candlesticks
These sterling silver Art Deco candlesticks were a family heirloom given as a wedding present in 1922. They were brought to me because they were bent, tilting to one side and the candle cup was crushed.
This was an incredibly challenging repair. I had to cut a hole in the bottom, remove the pitch core, spend countless hours straightening the candlesticks, repair the many holes in the faceted edges from 93 years of polishing, and fix the crushed candle cup. Then they were polished and refilled with pitch. Felt is glued on the bottom for an attractive appearance, concealing the area I had to cut open for access.
Antique 800 Silver candelabra
These antique 800 silver candelabra came from Vienna. They were custom made circa 1922- 1925 according to the hallmark and the family stories. If you study the forms, the square tapper is Art Deco influence, but the arms are definitely an Art Nouveau form. They arrived with lacquer which discolored with age, and damage from hot wax. It took many days to remove the lacquer and polish each part.
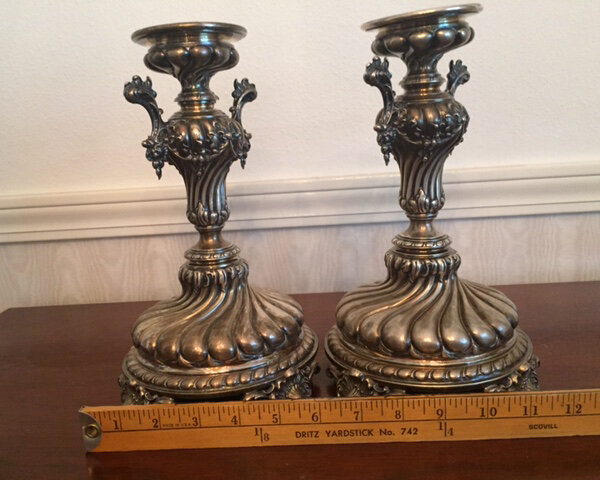
Antique Silver candlesticks from Eastern Europe/Poland 19th-Century
Recently, I have worked on several pairs of 19th-century antique silver candlesticks from Eastern Europe/ Poland. They all have similar construction and old poorly done repairs.
Antique Russian Silver Candlesticks
Antique Russian Silver CANDLESTICK straightened
This Russian silver candlestick was bent at the top (top photo left.) Most Russian and Eastern European silver is marked 800 (photo left.) This is 800 parts silver to 200 parts copper. I was able to straighten the candlestick without significant change to the patina and returned it to the customer in less than a week. I do not like to keep valuable items any longer than necessary. More complicated jobs can take 2- 8 months.
19th Century Silver Candlesticks
19TH-CENTURY CANDLESTICK REPAIRED & POLISHED
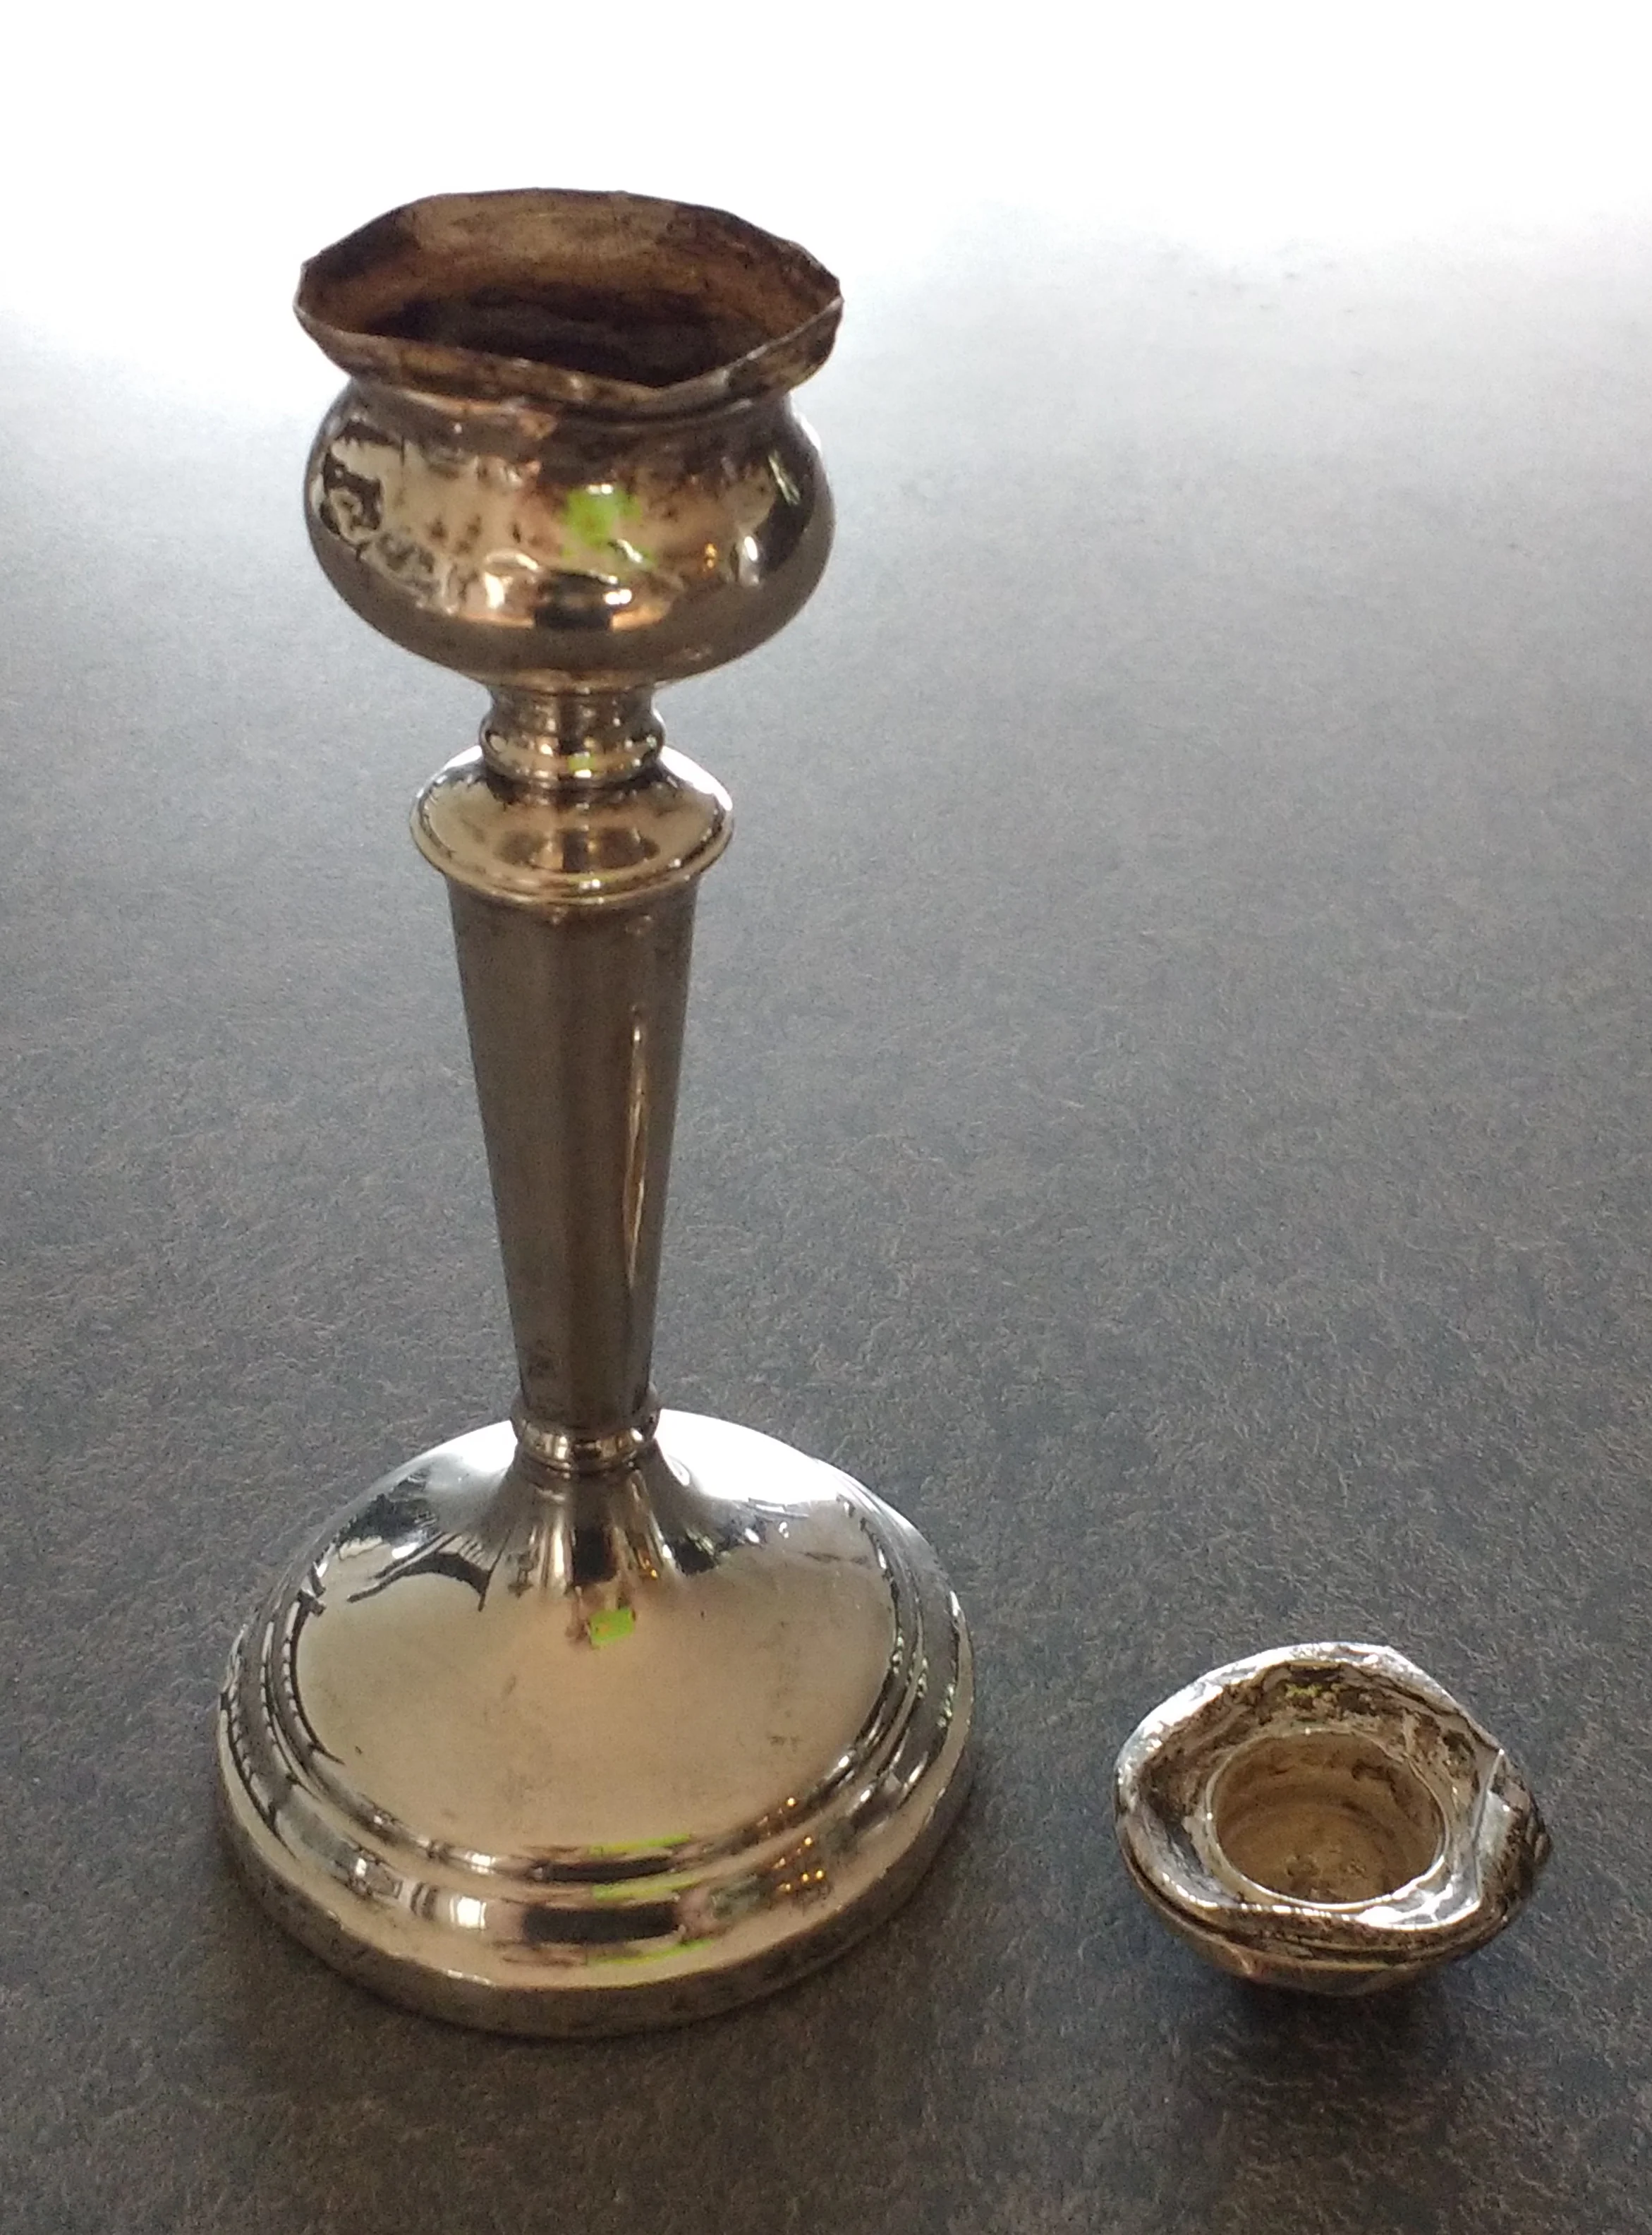
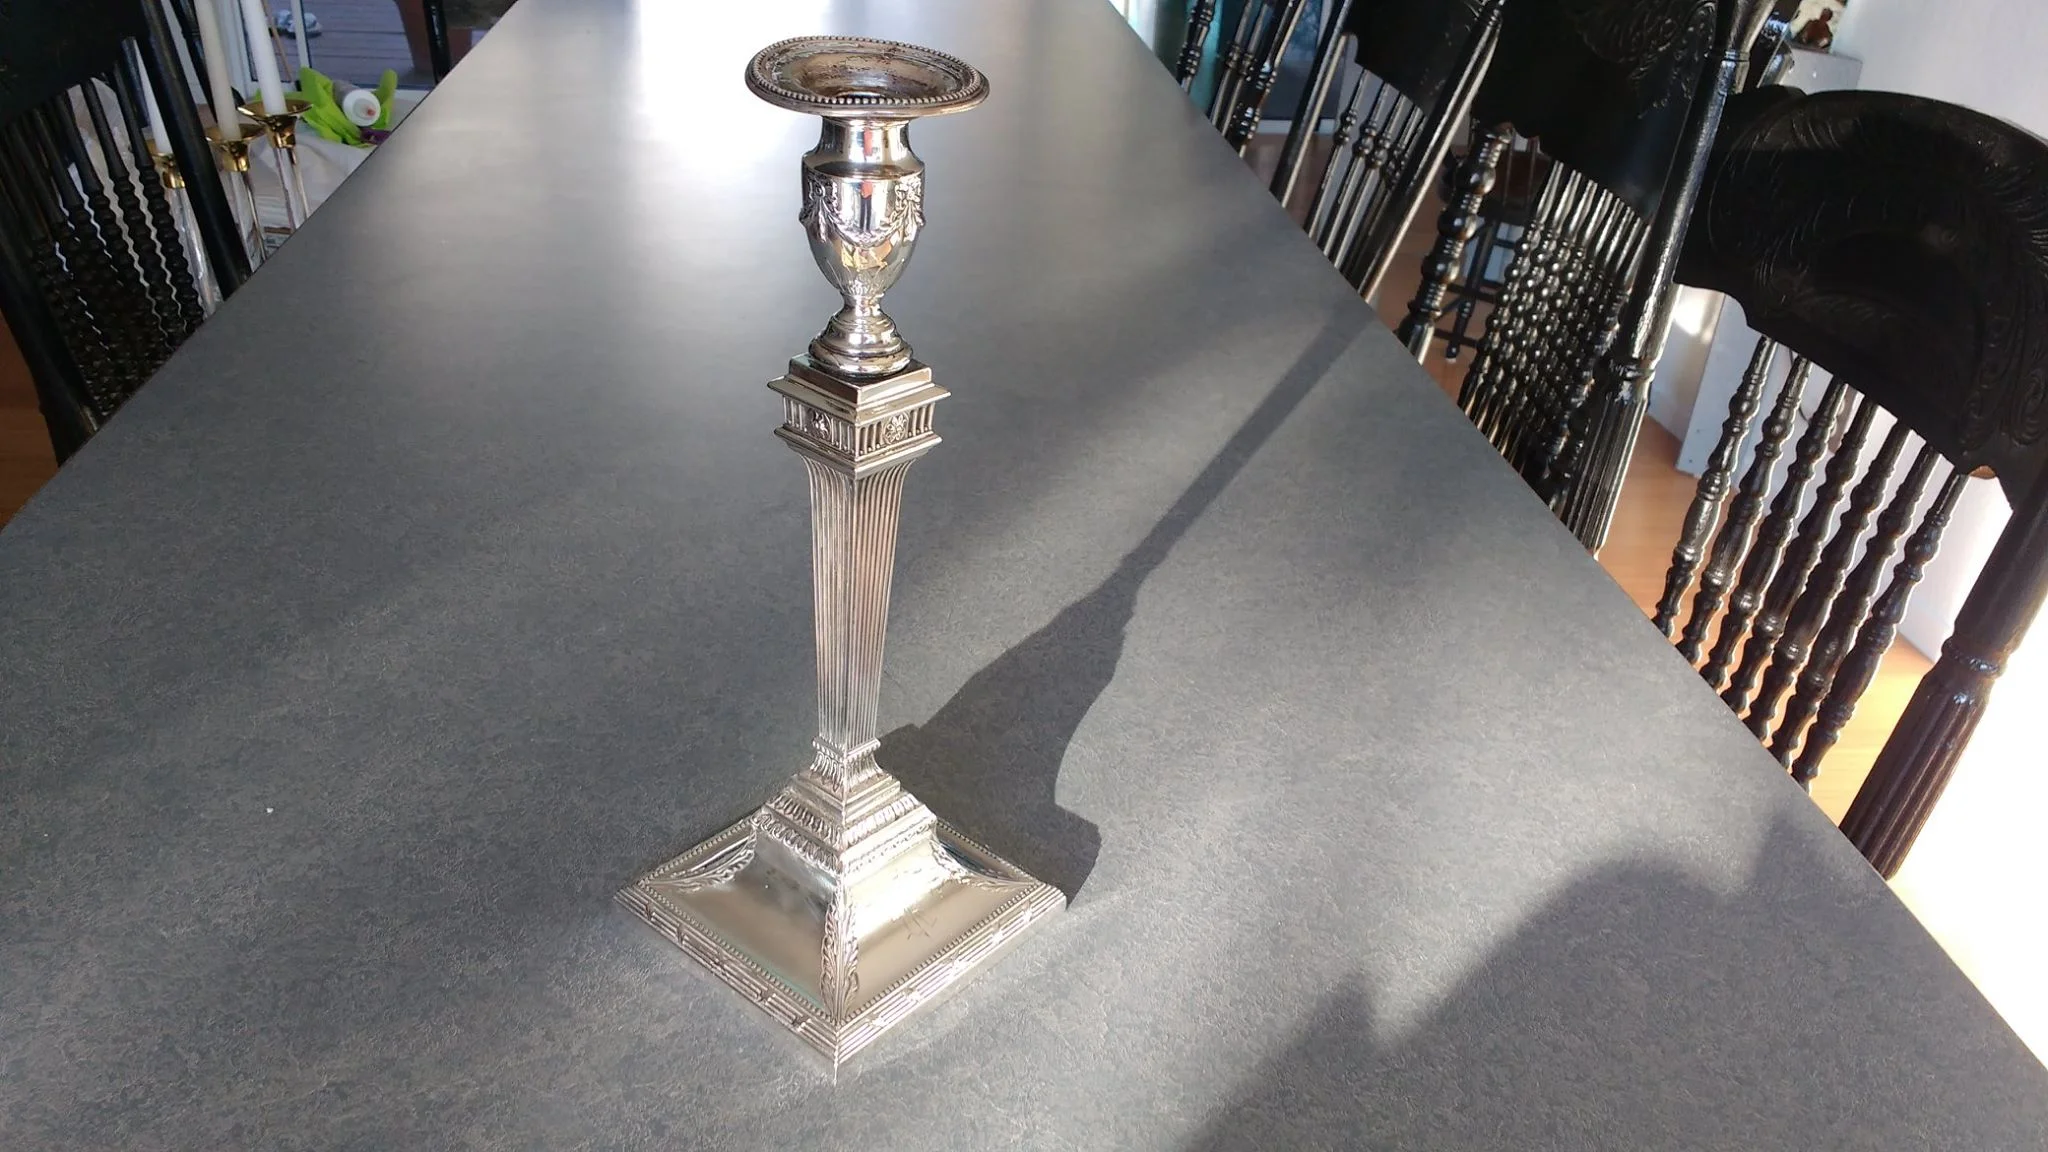
This sterling silver candlestick was from the end of the 19th century. They had many beautiful details in the design. Unfortunately, the customer "twisted off" the top of the candlestick, breaking off the silver candle cup. This was a huge challenge to put back together. Apart from the difficulties of the repair, there is always the challenge of irregularities and wear from 100 + years of use.
Sterling silver candlesticks are often filled with a pitch material. This has to be removed by slowly and carefully melting it out, which took two hours. You can see the pitch collected in the pot (right photo.)
After the candlestick was cleaned, it was silver soldered back together and refilled with the original pitch. The hours it takes for this repair are the only way to properly repair this beautiful sterling candlestick.
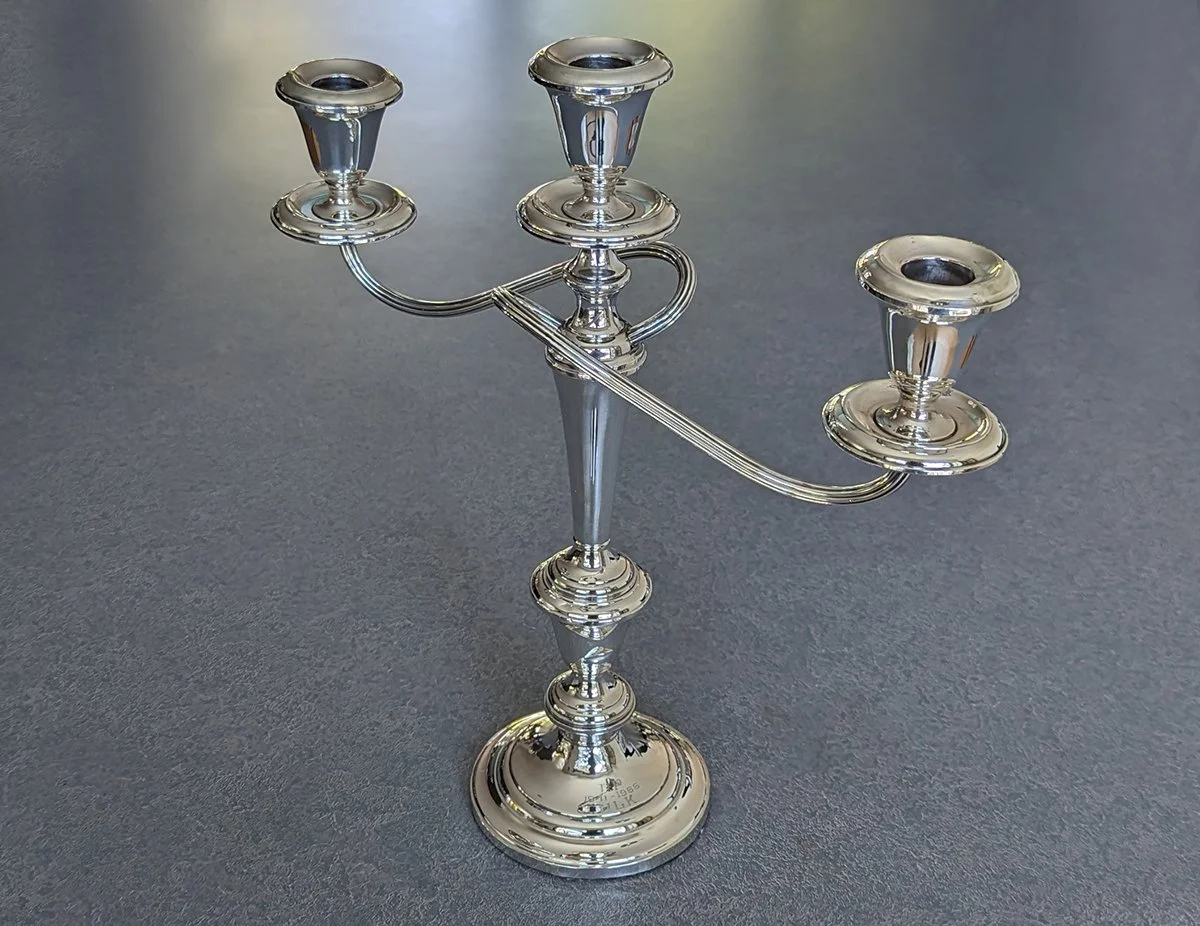
Many 20th-century candlesticks and candelabra are labeled “Cement Reinforced” or “Weighted”. The sterling silver is very thin, thinner than a piece of paper. The candle cup, stem sections, and base are filled with pitch. Over time, the pitch core breaks when the candlesticks are dropped or handled roughly. The candelabra arms are fragile and vulnerable to breaking.
Repairs are very challenging. Contact me to send photos of your sterling silver candlestick and I will tell you what I can do. Do not glue. Glue will not hold and can be difficult to remove. Repair of these candlesticks is not a cost-saving measure for a flea market find. Repairs like shown below are not inexpensive. You can buy another candlestick or candelabra at an estate sale for less than the repair.
Never use a knife to remove candle wax as it can cause serious damage and cut marks in the sterling. To remove wax, put your candlestick in the refrigerator. After the silver is cold, use your fingernail to pop off the wax.
CLICK HERE to view more repairs of cement-filled, cement reinforced, or weighted candlesticks.
Repair of Silverplate
Candlesticks & Candelabra
SHABBY CHIC SILVER CANDLESTICK REPAIR
This candlestick arrived broken with some serious problems, but the customer did not want to re-silverplate the candlestick. She preferred the "shabby chic" worn silver plating and character. The pitch core was removed and the candlestick base was soldered back together. I put a small silver wire on the outside edge to reinforce the repair, and then refilled the candlestick with pitch. The entire silverplate candlestick was polished as is. The silver plating is worn, but the entire candlestick has character.
Not everything silverplate needs to be replated, if you don't mind the worn plating and look of old silver. Not everything 100 + years old has to look perfectly new. This candlestick looks terrific considering the sad condition it was in when it arrived at my studio.
ANtique silverplate Chambersticks
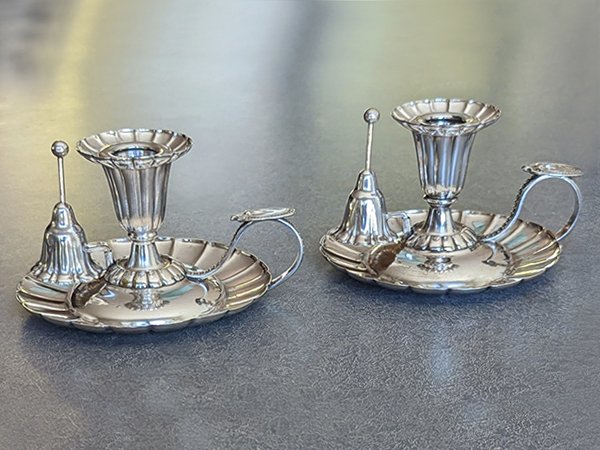
It is not that common to see chambersticks in the 21st century. The style of these chambersticks have not been in use for a very long time. It makes me think that these are antiques. This set needed repairs to the candle cup and bobeche (drip cup). Sterling silver wire was used to strengthen and conceal the repairs. After polishing these chambersticks looked beautiful.
Silver plate White Metal Candelabra repaired and Polished
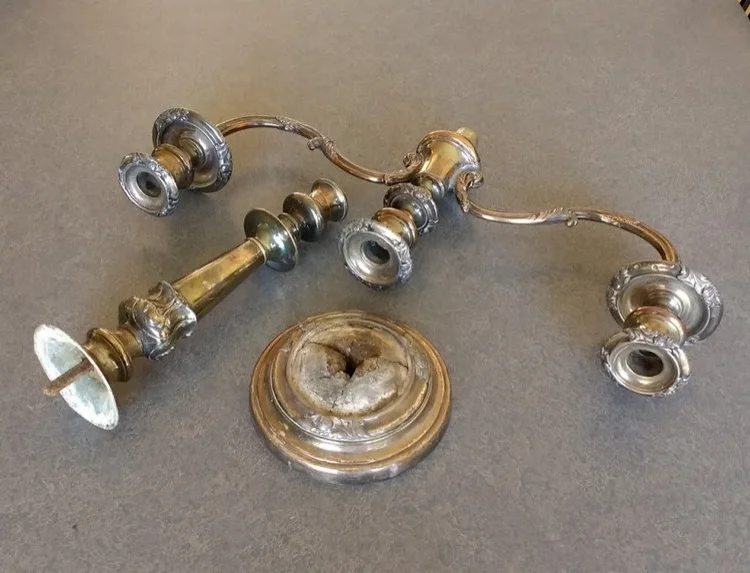
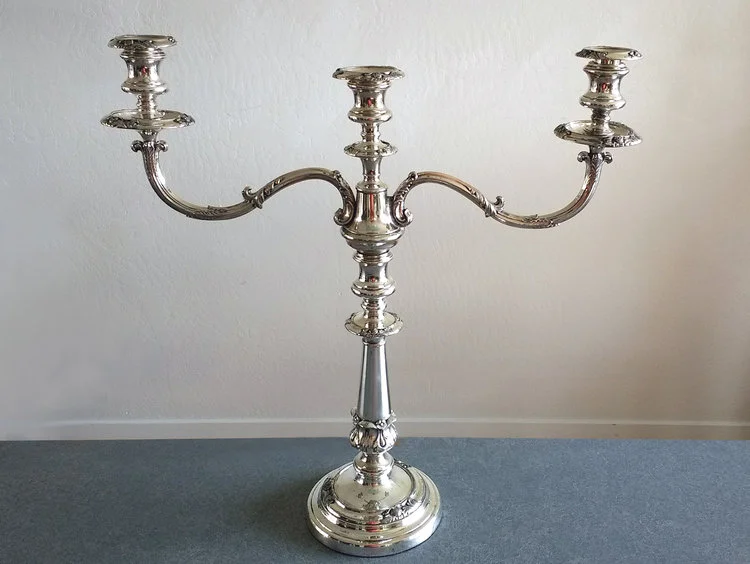
This silver plate white metal candelabra was broken into about six pieces, bent, and very tarnished. Repairing this type of white metal is always a challenge because the white metal melts at very close to the same temperature as the solder. After reassembly, it was polished very carefully to preserve the remaining silver plate while restoring its appearance. The transformation was remarkable.
View repair examples of silver plate candlesticks and candelabra by clicking here.
Unusual Candlestick Repair
Rare Ram's Horn Candlestick
This very unusual ram's horn candlestick arrived broken in two pieces. It also had two previous repair attempts that were poorly done. The first step for any repair is to remove all the old repairs to start fresh, providing the best foundation for a quality repair job. Objects from foreign countries are almost always filled with surprises and challenges. The silver is an unpredictable alloy. This candlestick was extremely difficult to solder straight with the swirly shape of the ram's horn, and the irregular candle cup shape (shown in the photo below.)
The customer said, "I finally had a chance to get to the post office and get the candlestick. It looks absolutely terrific! It's better than the original!"
Bone and Nickel Silver Candlestick Restoration
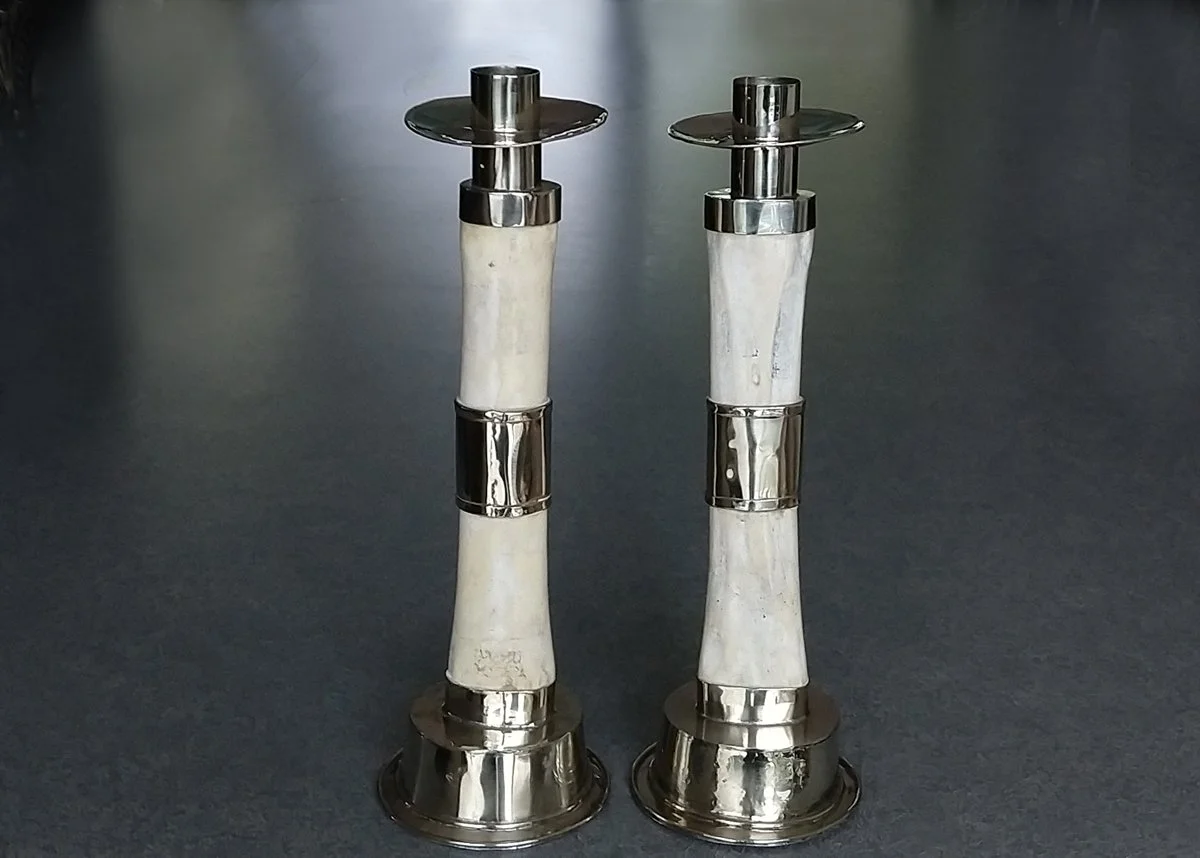
The owner of this bone candlestick thought this metal was tin, but it was actually nickel silver. Nickel silver has no silver content, essentially this is white brass. There was extensive work needed to restore and reassemble this unusual pair of candlesticks. Do not assume because an object is made from non-precious materials it will be easy to repair. This took over ten hours.
Restoration of a MatThew Boulton candlestick
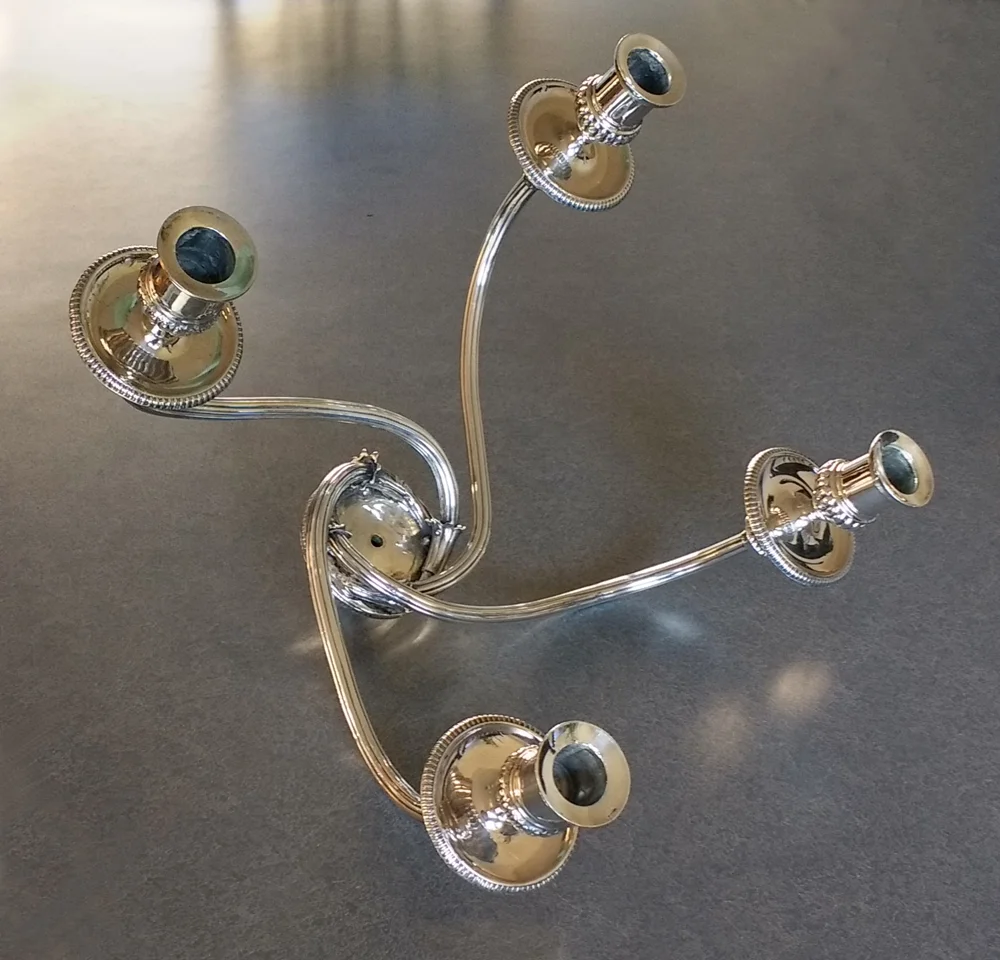
This 225 year old Matthew Boulton candelabra was a challenging repair. By the time it was in my studio, one arm was hanging on by a thread of metal, and another arm was very weak. A seam around the outside edge of the center was stretching open and splitting. This candelabra is incredibly heavy but made from silver, copper, and lead - all very soft metals.
Original Sheffield Plate is from the early 19th century. It is a sandwich of silver (as the bread) with a copper core (the meat.) It is assembled and filled with lead. Do not be confused by the word “Sheffield” stamped on a number of 19th and 20th-century silverplate objects. This term is often used to confuse the customer inferring a quality or history that is not accurate. “Sheffield” might be used to reference the city it was made in, or the name of the company.
Learn more about how I repaired this antique Matthew Boulton candlestick, step by step with detail images by clicking here.
Ripped and broken Matthew Boulton candlestick
Matthew Boulton maker's mark on a candelabra base.
Vintage Brass & Acrylic Candlesticks
Vintage mid-century modern Brass and acrylic candlesticks
I can polish and repair brass and acrylic. These mid-century modern candlesticks had solid brass candle cups and bases, but they looked terrible. Originally, they were lacquered…but over time the lacquer degrades and tarnishes. Working with acrylic takes great care and patience. While these candlesticks may have limited value, they have a lot of style. It is worth making them look fabulous. After I refinish the brass, they can be maintained by hand polishing.

